It’s been a busy but rewarding couple of months at Keeper.
We’ve been working to deliver a labour of love for New Diorama Theatre: a bespoke, animated web app to show off each fantastic show of the theatres’ new season.
Guy (our director of art) has been in charge of design for the entire season, and I’m sure he’ll be showing off some of his excellent work in detail soon. If you’d like to read up on Keeper’s work with New Diorama’s previous season, check out the case study.
Recently, it was my job to turn the shows’ art assets into a moving, interactive application.
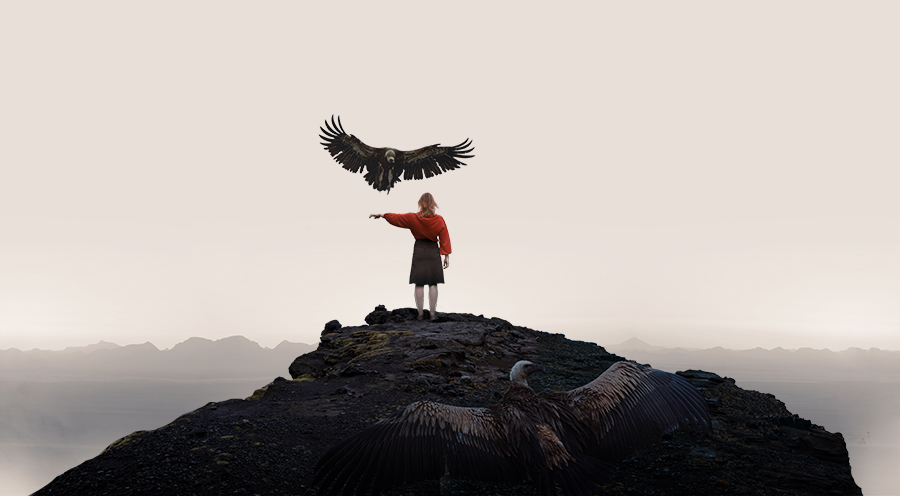
Before we dive in to an overview, take a look at the final result:
https://www.newdiorama.com/season-launch
Not bad, eh? If you’re interested in how I made it, stick around. If you’re not, no worries – thanks for checking out the app.
Build overview
Disclaimer: this is a general overview, not a walkthrough!
We knew our final result needed to be slick, animated and navigable, show off each show’s artwork and meta information, and include an option to book tickets.
Building up from scratch was a must – partly to show off, partly because we wanted really fine control over the development process.
ReactJS was chosen to build out the app interface, because I knew the project would be a single page application, without much SEO priority. Any JavaScript library for building interfaces would have sufficed, but React is my current favorite.
No idea about React? It’s a JavaScript library that enables the building of user interfaces. It’s developed by the team at Facebook and it’s pretty much the most popular option for building webby user interfaces right now. Other strong options are Vue and Angular.
One of my favorite React offerings is the ability to use ‘state’. State lets you keep track of , automatically update and render data, right there in the front end. It’s pretty cool.
I wanted to make use of React’s state controls to update show information and ticket links. I also ended up using state control to keep track of the app animation timeline – whether it was playing or paused, when to hide and display navigation arrows, that kind of thing.
Making things move
Now we had to find a way to animate large, high resolution raster images independently of each other, and on top of each other.
Anyone who’s read this far is probably already aware, but to be clear: websites get very slow when you chuck in high resolution, uncompressed images.
We needed to push this even further; layering up these high quality uncompressed images with transparency to create the illusion of independent moving parts. Vectors weren’t an option, simply because of the detailed photo-based images we were using for the season.
Guy sent over some intermediate master files of the show assets, and I started experimenting with image dimensions, and exporting individual layers as (GASP) .png files.
After playing around with a few JavaScript animation libraries (shout out to anime.js and react-spring, well worth a look), I opted for the long established, highly documented GSAP at Greensock.
GSAP animation library
GSAP is frankly excellent. Very well documented, great forum of expert users, and the ability to create animation timelines really cinched it for me. The library is also very speedy and smooth – necessary for our giant, layered images.
I ended up building the entire set of app animations around a master timeline. Paused by default, it plays or reverses each show’s set of animations every time you click forwards or back.
Bolting sub-timelines onto the master allowed greater control over looping animations such as the Incident Room scene (the police officer with the blur overlay at https://www.newdiorama.com/season-launch).
Optimisation
GSAP helped a lot with keeping animations smooth, but a lot of optimisation was still necessary to keep the app performing well.
To address the sheer size of images, I made use of resolution switching. Simply put, you import a bunch of different sized versions of the same image to your production and tell the browser to load up the versions that best match the size of the visitors’ screen. This means that users on mobile don’t load up images that are thousands of pixels wide. Helpful!
This did make the import process a lot slower. I ended up including three different versions of every layer of every overall show design. Worth it for the performance boost, trust me.
To free up some CPU usage, I ensured that any tertiary animations only played when the user landed on the correct show. React’s state controls came in handy here – pausing or playing loop animations depending on which show was active.
Finally, I also created a custom loader to pause the app until all images are loaded. The last thing you want is animations running with layers that haven’t even rendered fully yet.
What about screen optimisation?
We had to ensure that no matter the screen orientation or size the app would display correctly.
There was no shortcut here. For each show, and each image layer of every show design, I coded in a set of conditions (or media breakpoints) to ensure the size and placement of each image layer sat correctly at all the necessary device screen sizes.
Was this part monotonous? Yes. It did however drill some difficult essentials into my tired brain. Shaky at something? Force yourself to do it for hours, yay! Disclaimer: Take breaks and drink water.
Final thoughts
This project was a genuine pleasure to deliver. It was tough and required a lot of research. Both are vital criteria if you want to keep pushing your development skills and deliver projects that raise your personal bar.
What would I do differently next time? In this case, not a lot. However, I do think I pushed the browser a little too hard with some of the image sizes and animations.
Pulling back some of the more intense animations and merging some image layers allowed me to find a performance sweet spot. For any future projects with more demanding animations, I want to work on HTML5 canvas instead. This will give a real performance boost, allocating processing to GPUs on visitor devices.
Some developers may question why I didn’t shoot straight for this option in the first place, but I really wanted to see what we could get done without including bulkier canvas-based JavaScript libraries. I was pleasantly surprised.
So my library wish list for the next project? Pixi.js for canvas rendering, and anime.js for animations – a very popular stack for showcase work I’ve seen recently. Can’t wait to get started!